Hope Headset Bearings: Fitment, Service and Replacement Guide
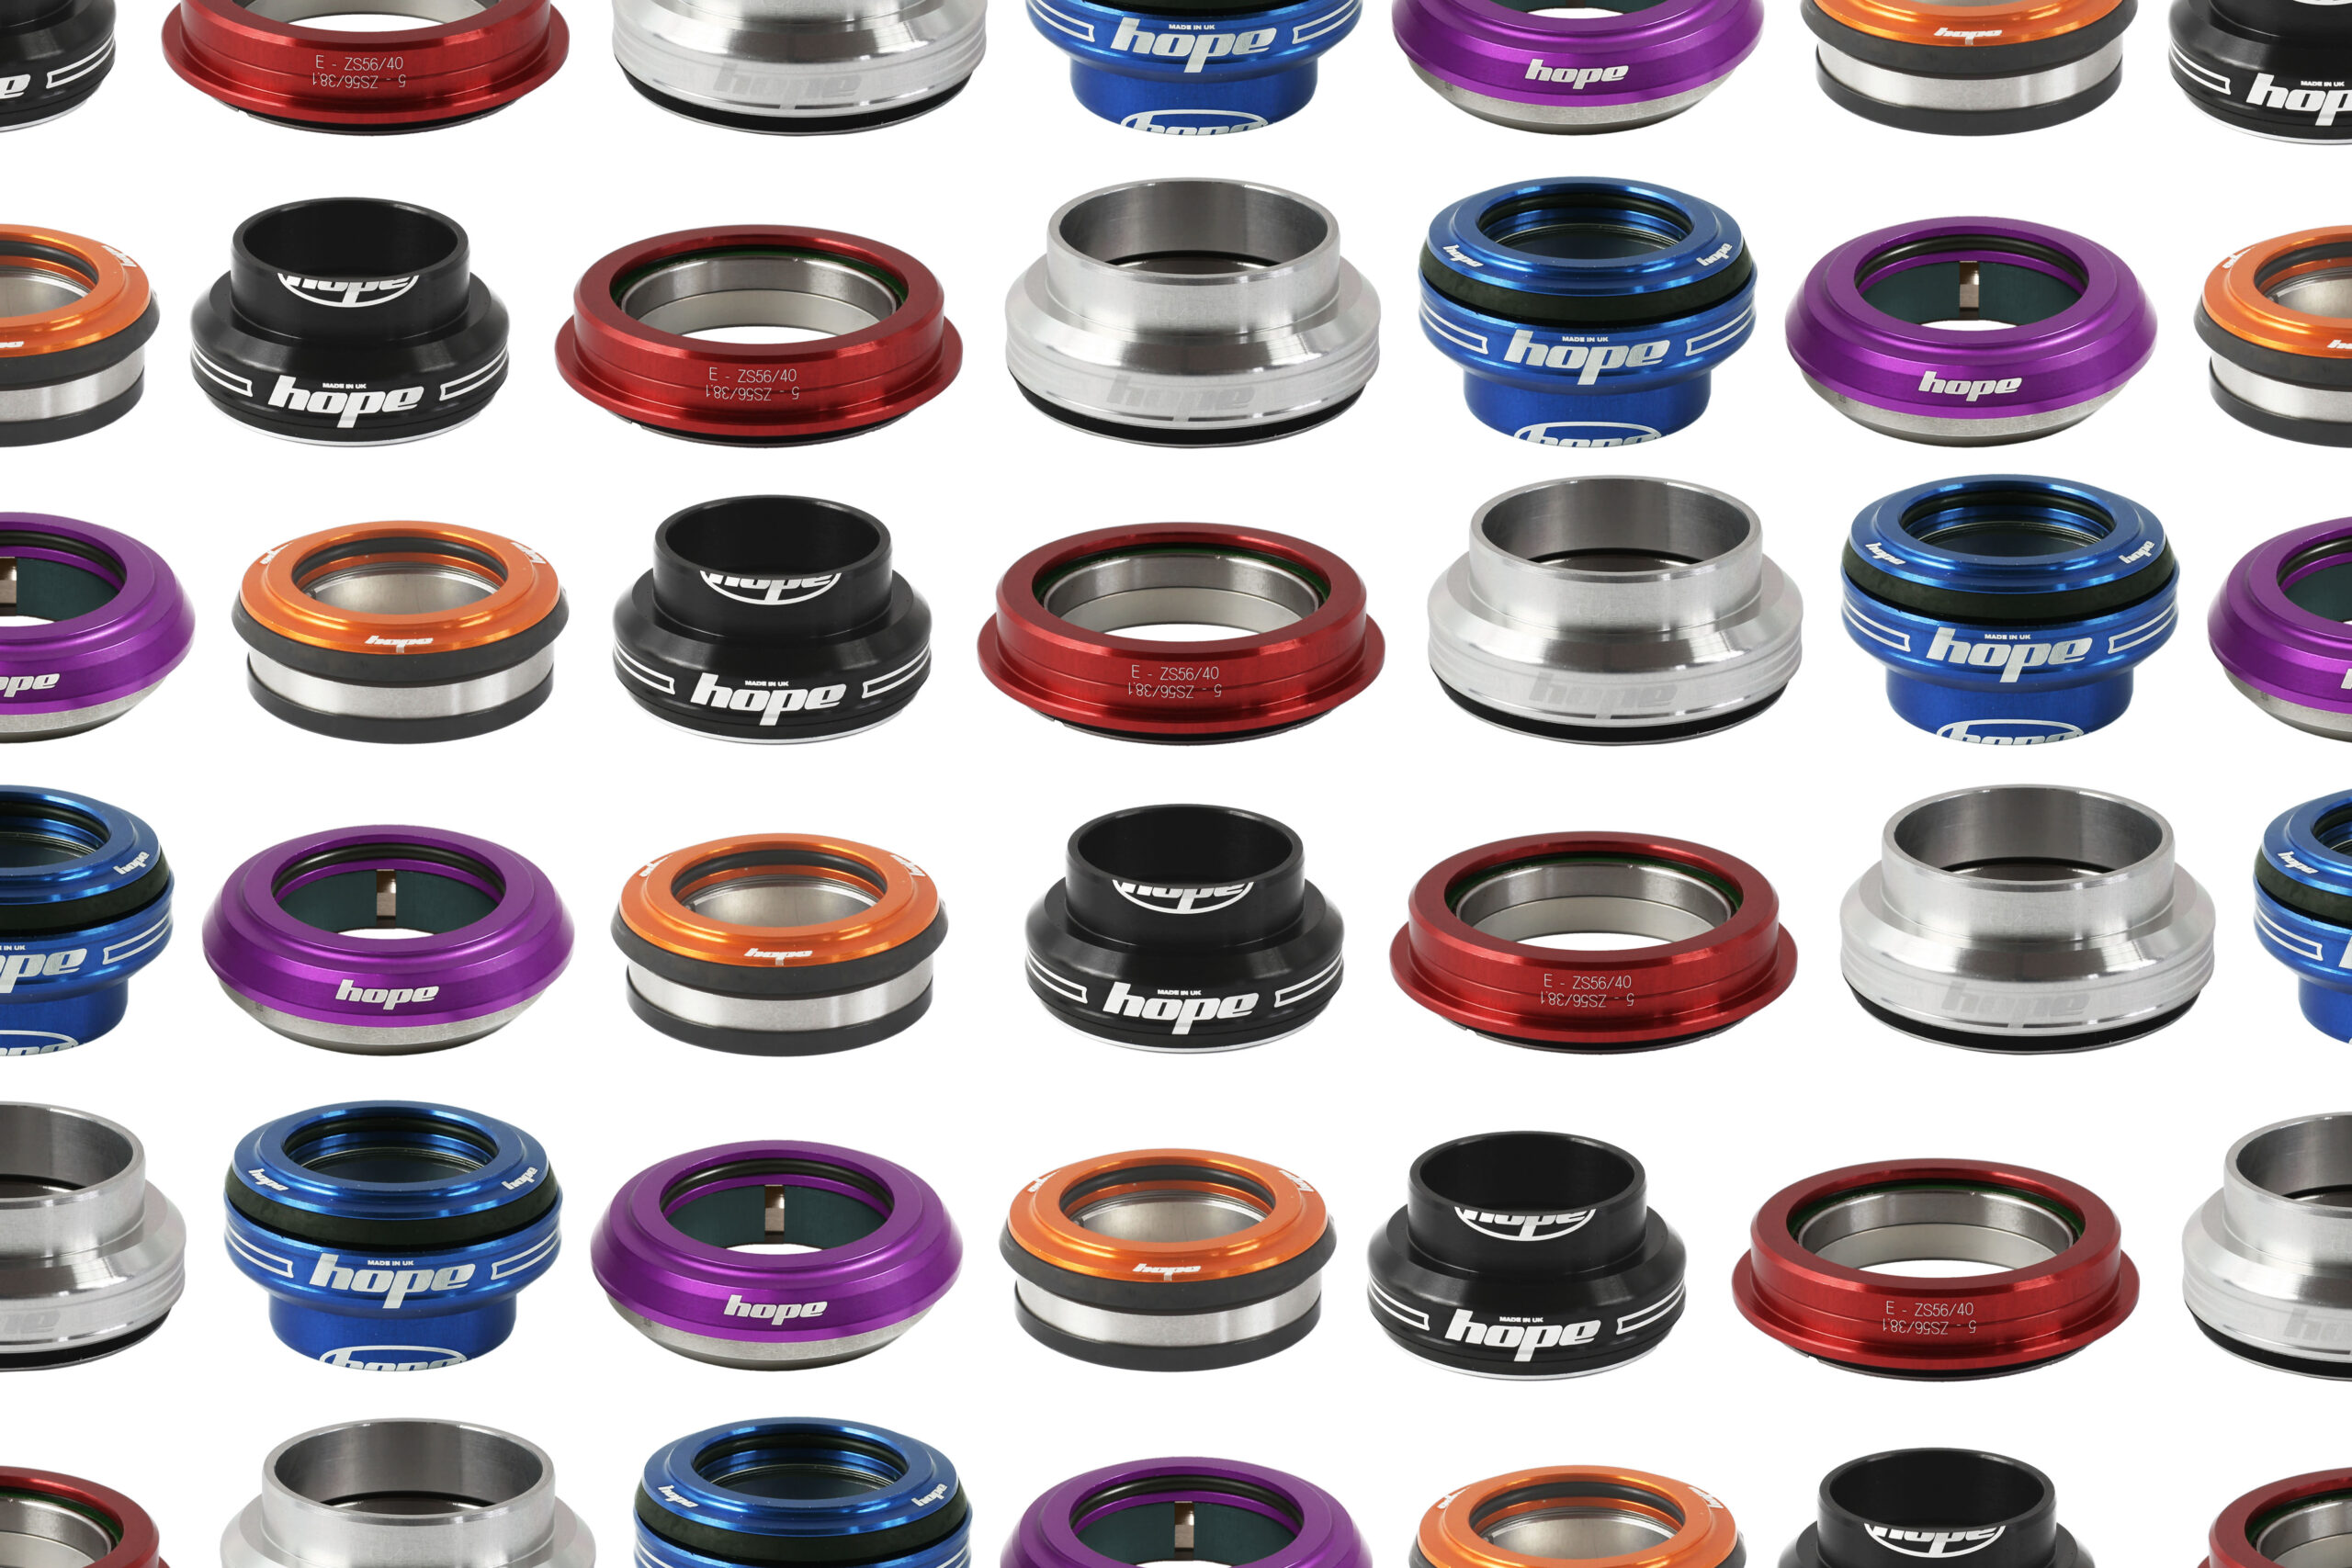
Hope headset bearings: selection starts with frame and fork interfaces
Start with the interfaces, not the bearing colour or a photograph of an old headset. The upper choice has to match the upper head-tube bore and the fork steerer diameter. The lower choice has to match the lower head-tube bore, the fork crown-race seat and the steerer shape.
Record the upper and lower measurements separately, then cross-check them against Hope’s compatibility information before choosing a replacement bearing or cup. If you cannot confirm those dimensions, pause the order rather than trying to make a near-match work.
Hope's modular design and build quality
That serviceability is the real reason to consider them; the anodised finish is secondary to getting the correct interface and keeping replacement options available.
Hope says its headsets use custom-made replaceable stainless-steel bearings, while the headset technical guide describes the cups, taper ring and crown race as machined from 2014 T6 aluminium. That does not make every Hope headset the right purchase: if you only need the cheapest confirmed fit, a complete modular range may offer more choice than you need.
Headset bearings: lifespan depends on exposure and condition
There is no honest universal replacement interval for headset bearings: a SingletrackWorld longevity discussion includes riders reporting rough lower bearings within months and others reporting six, eight or nearly ten years of service. The same SingletrackWorld thread repeatedly connects that spread to lower-bearing contamination, washing, assembly and adjustment. These are owner reports rather than a controlled lifespan test, so use condition and inspection—not the longest anecdote—as the replacement trigger.
Check for roughness, notchiness, play, corrosion or a seal that no longer sits correctly, then isolate whether the problem is in the upper or lower assembly.
Grease, seals, and the limits of routine service
A sealed cartridge bearing is not made serviceable by smearing grease around its outside. Grease is useful on the intended contact points during assembly, including clean cup, race and seal interfaces, but a bearing that feels rough or notchy should be assessed for replacement. Keep the process clean and follow the instructions for the specific headset version.
If the seal is damaged, the bearing has play or the race is marked, grease is not a substitute for the correct replacement part.
Service sequence and headset construction types
A sensible service starts by removing the preload, taking the fork out, and keeping the upper and lower parts organised rather than mixing them together. Clean the parts, inspect both bearings and check the crown-race and cup interfaces before deciding whether the job needs one bearing, one cup or a matched upper-and-lower replacement.
The main types you will encounter are external-cup, zero-stack and integrated arrangements, with upper and lower choices that may differ on the same bike. Cup stack height matters as well as diameter: Hope lists examples from 6 mm to 17 mm, with some options supplied with shims and others specified without them.
Headset replacements: cost and the value of premium bearings
Replacement cost depends on what has failed and which frame-and-fork combination you need, because Hope’s Pick’n’Mix system separates upper and lower selections. Before buying a complete headset, confirm whether the cups are sound and only the cartridge bearing needs replacing. Conversely, a bearing is not a useful saving if the cup, seal or crown-race interface is the part that is damaged.
The premium argument is less about a magical reduction in steering friction and more about replaceable, purpose-made parts and a construction intended for demanding wet conditions. In a separate SingletrackWorld comparison discussion, owners praise Hope's split crown race, modular cup choice and long service on some bikes, while others question the price beside Cane Creek, Superstar and other cartridge-bearing headsets.
Installation checks and Hope's technical manuals
Before installation, confirm the upper head-tube bore, lower head-tube bore, steerer diameter, crown-race seat and required stack height. Install only after the cups and bearing orientation have been identified from those measurements; pressing a near-match into a frame can damage the interface. The lower choice is especially important on a tapered fork because the lower crown-race and steerer interface can differ substantially from the upper one.
For diagrams and fitment checks, use the manuals and compatibility charts linked from Hope’s current headset material, including the upper chart, lower chart, dimensions information and technical guide. Those documents are more useful than a generic installation video when your bike uses a tapered, reducer or integrated arrangement.
Fit problems: stop, measure, and re-check the assembly
If a Hope headset does not fit, first separate a dimensional mismatch from an assembly error. Re-check the upper and lower bores against the steerer and crown-race requirements; these are independent checks, not one universal headset size. Then check bearing orientation, seal position, crown-race seating and whether the chosen cup stack height needs the supplied shims.
Do not solve a hard press or incorrect preload by adding force: an almost-correct cup can still be the wrong cup.
Headset bearing standards: tapered, integrated, and seat fitment
A tapered fork commonly keeps a smaller steerer interface at the top while using a larger crown-race seat at the bottom, which is why the two headset halves must be checked separately. The lower compatibility decision becomes more involved when the bike uses a 1.5-inch lower, a reducer arrangement or a different crown-race standard.
For an integrated headset, the bearing may sit directly in a frame seat rather than in a separate pressed cup, so the frame’s seat dimensions matter just as much as the cartridge bearing dimensions. In every case, read the complete standard as a set of interfaces—upper, lower, steerer, crown race and stack height—rather than searching for the words “tapered Hope headset” alone.
A practical installation and replacement checklist
For Hope headset installation, use this order: measure the frame and fork, select the upper and lower parts, confirm stack height, clean the interfaces, install with the correct tools, and set preload without removing the steering play by overtightening. Hope lists multiple stack-height options, including cups with supplied shims and cups specified without shims, so do not assume every top cap arrangement has the same height. The bearings and cups are only one part of a quiet front end, so also check the crown race, preload, spacers and stem when a headset still feels loose or noisy.
An EMTB Forums Pick'n'Mix discussion provides a useful fitment warning: one owner relayed Hope's frame-specific upper and lower recommendations but explicitly told others to verify their own bike rather than copy those cup codes. That EMTB Forums discussion also notes that cup removal and pressing tools may be required, reinforcing the difference between replacing a cartridge and changing a pressed cup. Finally, do not confuse Hope’s Head Doctor with the headset bearing system: it is a separate reusable preload component for compatible threadless steerers, not a replacement cup or cartridge bearing.